Showing posts with label vintage. Show all posts

Monday, 18 May 2015

~ A little bit of vintage ~

Happy Monday!
 
Well today is my last day off before I'm back at work tomorrow. I've loved having a week off to myself. My fiance is taking me out to Loch Fyne for a nice lunch date today followed by a stroll if the weather allows.
 
 
I thought what a perfect day to show a layout I created with a photo from another date we went on to a rooftop bar in the Trinity Centre, Leeds last year. I couldnt resist buying this paper when I visited my local craft shop. I love the vintage distress effect on the paper and allowed my to tear and distress my paper layers.
 
Happy Crafting!
 

Tuesday, 14 May 2013

~ Family Framed ~

Today Mum and I have spent the afternoon crafting together. An occasional treat we try to organise once in a while.
 
We both loved some of the classes from Monica Gale's Retreat that she showcased on her blog so we tried to recreate one of them putting our own spin on it. I bought the frames from The Range for only £2.99 which I thought was a bargain! We both used up papers and embellishments from our stash.

 
I'm really pleased with the result of my afternoon. This is going to take pride of place on the shelf in my craft room. I can't believe how different they both look even though we have essentially created the same thing.
 
 
I've gone for a vintage nature kind of look with butterfly and bird embellishments and patterned papers.
 
Thanks to Monica Gale for her ongoing inspiration.
 
Happy Crafting!
 

Sunday, 29 April 2012

~ The love of my life! ~

Well what a horrendous week! ... not only did I have 4 emotional night shifts but the weather has simply been depressing. The light at the end of the tunnel was the delivery of Scrapagogo's April kit. I managed to get a layout done on Saturday.


The papers and embellishments are very vintage and romantic. At the moment I don't really have any photos which would fit that genre so I twisted it round and chose to scrap something I love. Apologies for the photo, I took it when we had the only 5 minutes of sunshine today.


I added a little bit of Tim Holtz tissue tape and a brown Prima alpha to the kit to make this layout. I used the kit stamp along with Tim Holtz Distress Ink in Tattered Rose to create a border along the right hand side of the photo.

This layout documents my 'Love of Food' and is highlighted by a photo of me enjoying some 'shell on' prawns at my local seafood restaurant - Loch Fyne.

Happy Crafting!

Thursday, 8 March 2012

~ Barmy for boxes! ~


I was given Papermania nesting bare essential boxes by my mum and asked to decorate them and plan a little class for her and our friend.

I chose 4 co-ordinating patterned papers from my Scrapagogo kits and covered all 3 boxes.

I used strips of the paper to create ruffles around the bottom of lids (this hides any unsightly bits).

I then used doilies, ribbon, punches, buttons and paper to decorate the tops of the boxes (I will do a tutorial soon showing how to make the bow on the small box).

These are the boxes I made when mym and our friend came to decorate their boxes. I tried to go with a vintage look.


I'm really pleased with all the boxes I made and hope that those that receive presents in them like them as much as I do.

Happy Crafting!

Saturday, 28 January 2012

~ Vintage card - tutorial ~


Here is an invitation I have made to invite people to mine and my friend's Queen's Guide Award presentation. I'm making approx 20 of these invitations and although they are simple I thought I would do a quick tutorial. This is my first tutorial so any constructive comments are appreciated.

1. Stamp a script background stamp on to kraft cardstock using Versamark dazzle inkpad. I bought this today from Hobbycraft and love the effect it gives to the watermark image. The stamp I used is one from Prima.

2. Stamp the large image and the verse from the Stampin Up Friendship's Journey stamp set (2003) on to cream card using Vintage Sepia Versafine ink. I love this stamp set, just a shame it was retired in 2005. This design would work with a number of other stamp designs.

3. Trim all the images so that the image fills the card and trim the verse to approx 2cm x 8cm.

4. Stamp the postage mark in Versamark Burgundy ink at either corner of the cardstock with the script stamped on it.

5. Ink the edges of all 3 images using a brown Distress Ink, I used Walnut Stain.

6. Mount the female image on to dark red/burgundy cardstock.

7. Mount the script and the female image on to a standard size cream card.

8.  Using double sided tape adhere a piece of lace measuring the width of the card just covering the bottom of the female image.

9. Add the sentiment just below the lace using 3D form squares. 

10. Adhere 3 mosaic squares/rhinestones to the top right handside of the card. 

11. Finally punch out a flower from matching cardstock, add a rhinestone to the centre and adhere it to the card just above the sentiment.

There you go one complete card!

Happy Crafting!

Saturday, 31 December 2011

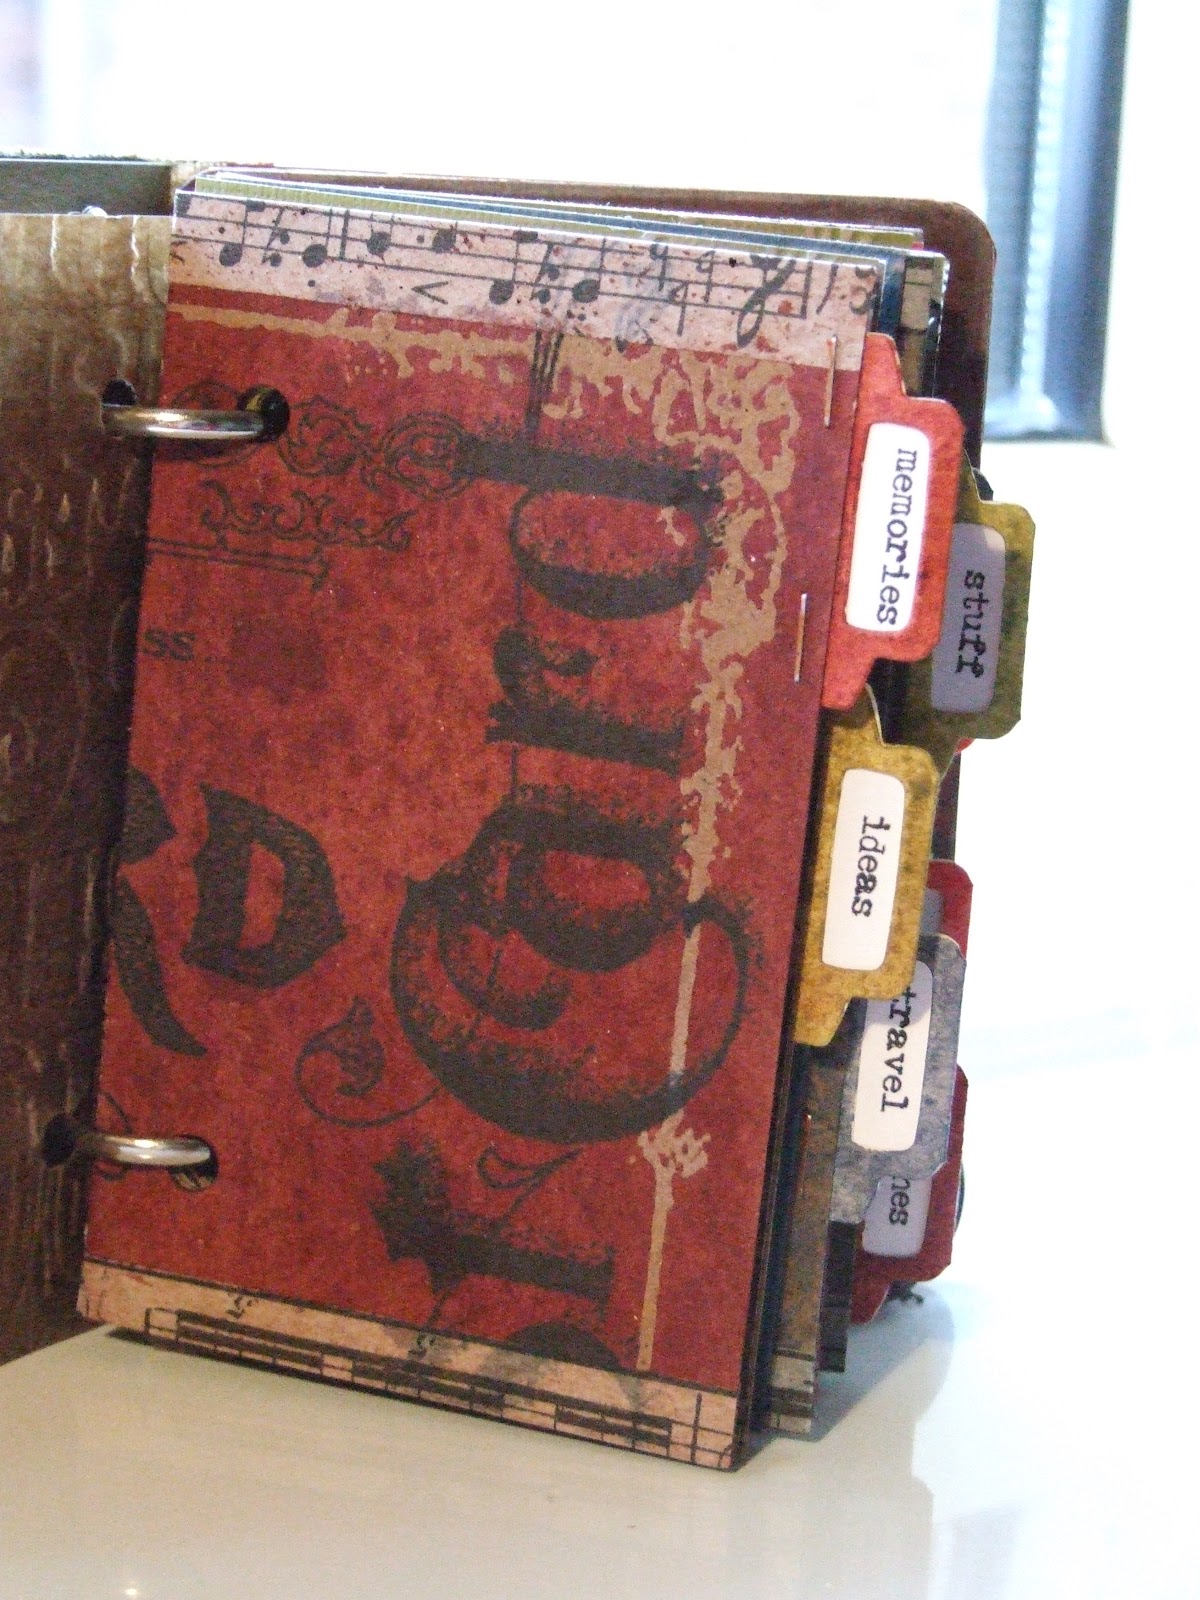
~ Tim's Christmas Journal ~


Some of you may remember that on Christmas Day I posted about the Tim Holtz kit I had managed to buy from his Etsy shop for my mum for Christmas. It would only be right for me to have bought myself one as well.


Well here it is fully completed, well I still need to add photos and some journalling but the book is completed as per the kit instructions.


I'm so pleased with how the book has turned out. It is quite small but is going to be a lovely addition to my Christmas decore.


I was very excited to use my new Distress stains that I got for Christmas from my Mum and Dad. I absolutely love the effect they give the kraft resist paper. Not sure if we have the kraft resist paper in the UK but I absolutely love its effect. By adding tissue tape to the top and bottom of a folded piece of paper it created a pocket for adding mementos, recipes, photos etc...

There were also a number of coredination kraft core embossed pages which I simply distressed to add abit of texture. I'm really pleased with the way it has turned out.

Happy Crafting!

Sunday, 25 December 2011

~ Mum's FABULOUS Distress Christmas Present ~

MERRY CHRISTMAS
to all my readers!

This is the amazing present I managed to get my mum for Christmas, I'm sure she is going to love it!


Tim Holtz put 95 of these kits on his etsy store along with some other embellishment packs. They were all sold out within ten minutes. I was fortunate enough to purchase two kits - one for me and one for mum.

Happy Crafting!

Wednesday, 23 November 2011

~ Almost there! ~


Well here we go ... it just needs a little finishing off!

The drawers all need numbering and I think I need something 3D in front of the background. All the papers used are from the MME Lost and Found Christmas range which is fabulously vintage. I used a distress ink to add dimension to the background paper especially the 3D piece showing the '25th and sleigh design'.

I'm really pleased with how this is turnign out, just hope I can get it finished ready for the 1st of December. I will reveal the finished article on that day as the start of the 'Official' festive period.

Well off to do a little more Christmas shopping - nearly done!

Happy Crafting!

Thursday, 17 November 2011

~ Slowly getting there!!! ~


Well the other night whilst my other half was off at Band practice I sat and put together 24 little boxes, cut out the patterned papers and stuck them all together. It was quite theraputic and was easy to do whilst watching TV. Although the kittens did take a fancy to batting a few across the sofa.

I just need to get my actual advent calendar sorted, as I mentioned in my previous post, the pegs and the holes now don't fit ... oops.

Happy Crafting!

Friday, 19 August 2011

~ Altered Clock ~

This altered clock now adorns the wall above my desk in the craft room. I had completely forgot I had bought this Kaisercraft Beyond the page clock kit at a show. It was unearthed during my house move so I used up an old Cleo Crafts kit containing 'Flights of Fancy' papers.

I firstly painted the base with white acrylic paint (I gave it 2 coats). Then I marked the base with the spaces in the frame and covered them with patterned paper. I added some butterflys, buttons and ribbon. I also made a couple of paper roses and attached them. Finally I added some brown Prima Numbers left from an alphabet used at the Gogogetaway last March.

Today has so far not seen any crafting but I'm wondering if I might sneak an hour shortly depending on how the kittens behave.

Happy crafting! 

Monday, 23 August 2010

~ A little organisation .. ~

Well as I mentioned yesterday its nearly time for Shimelle's Learn something new everyday class (LSNED) so I decided to join in but go for a small project and to get organised before it starts. So here goes...

So the mini book is going to be made from C6 brown envelopes with one side being used per day. I decided to make a template so I don't have to measure them each day to create a layout.


On alternate days (when the page includes the envelope opening) a card tag insert will also be included.

So to get organised I have already done my front cover, stuck the flaps inside some envelopes and cut out some tag inserts from cardstock.

Here is my front cover using up some of my kits from Cleocrafts. I am really looking forward to this class and hoping that Shimelle's class will give my mojo a massive boost, although it has been pretty good recently!

Happy Crafting!

Wednesday, 21 July 2010

~ A Golden Oldie... ~

Well hello again... Crikey 3 times in a week... I'm getting better. I've just completed this layout of a photo that was taken such a long time ago now. This very dashing young man is my other half aged 15 on our first  holiday together in Bulgaria in 2003.

I am really pleased with how well the reds and pinks from Fancy Pants 'Roadshow' papers have gone with the photo. I did worry that it might look a little too girly.

Well its only a flying visit to blog land as I'm off to work, probly won't be around for a few days as I'm on nights. Sweet Dreams! 

Saturday, 26 June 2010

~ Wedding Mini book ~

Its finally finished! The Wedding Minibook is finally done! It has been delivered this morning to their house ready for them returning from honeymoon tomorrow.

All the papers used are Kaisercraft and the colour theme throughout the book is cream, brown and aqua/teal. I am really pleased with how well this book turned out and I hope the couple like it.

My apologies about some of the photos as it was very sunny yesterday and I was on a tight schedule.

The couple got married at some chambered cairns up in Scotland. It appears to have been an unusual but very interesting wedding.


The stamps used were bought from the Rubbernecker Stamp company at Alexandra Palace Stamp and scrapbooking show last April.


Arriving in style! On horseback! I never thought I would see this happen.

I copied a few quotes from online to add to the photos as I have no journalling to use.


I also added a page where they can write the guest list on to remind them of the people who attended.

Hope everyone has a lovely warm weekend, think of me as I'm working nights alll weekend.